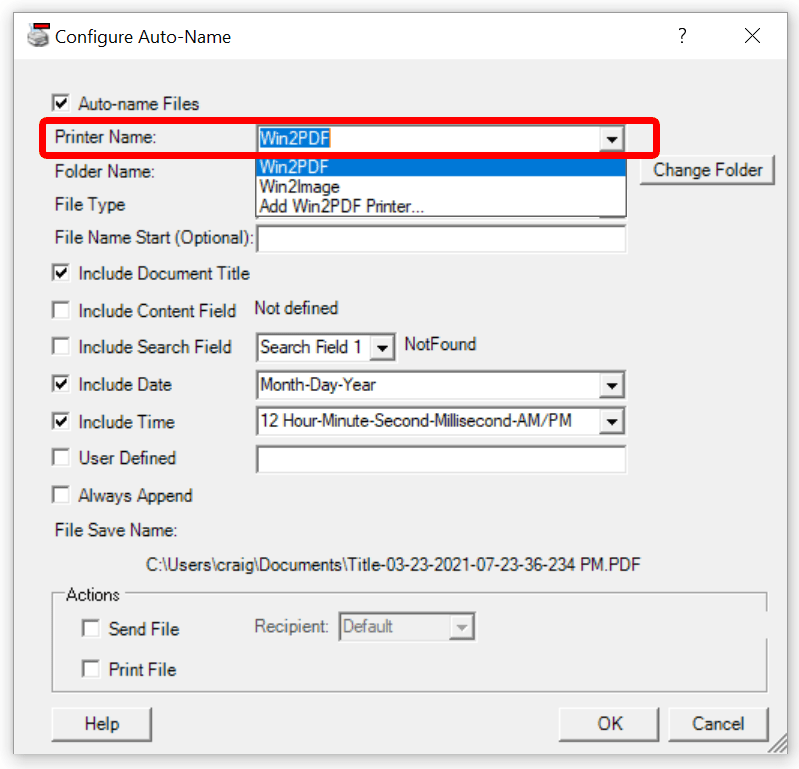
The "Printer Name" setting allows you to change the Auto-name settings for each individual printer. Each printer can have a different configuration with auto-name enabled or disabled, different folder names, and different options for the file name.
For example, you may have different actions for different types of documents. You may want to always save invoices to a specific folder and print a copy to a paper printer. You may want to save sales quotes to a different folder and automatically email them. At other times, you may create PDFs interactively and choose the file location in the Win2PDF "File Save" pop-up window. You can handle these cases by creating separate Win2PDF printers to handle each work flow. You could create a new printer named "Win2PDF Invoice" that is configured to automatically name PDF files and print, a second printer named "Win2PDF Sales Quote" that is configured automatically name to a different folder and email, and you can leave the "Auto-Name" feature off for the "Win2PDF" printer so you can still print interactively.
The "Printer Name" setting displays all available Win2PDF and Win2Image printers are displayed.

Configure Win2PDF Auto-Name: Select Printer
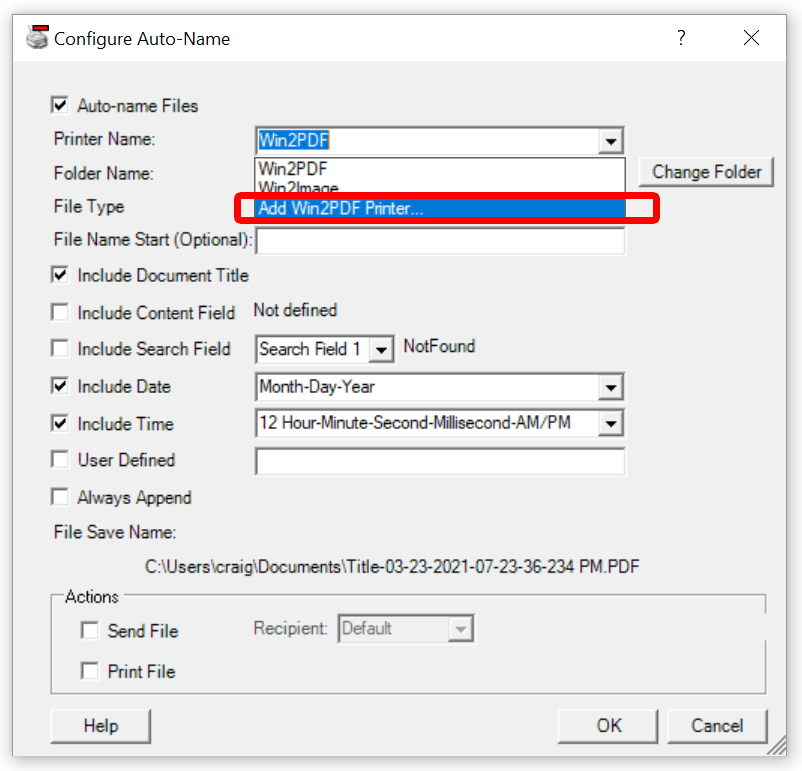
The "Printer Name" setting also allows you to add a printer by selecting "Add Win2PDF Printer..." at the bottom of the printers list.

Configure Win2PDF Auto-name: Add Printer
Auto-name settings are stored separately for each printer, and it's often helpful to create a new Win2PDF printer when defining a new Auto-Name configuration.